OCR - Extract text from Image file then upload it to SharePoint using AI

This tutorial shows how to use PowerAutomate to get an image/scan file to a shared mailbox, extract necessary information inside the image file, and upload all data to SharePoint. I believe this will help business remove their manual process of encoding hard-coded information to SharePoint.
###Requirements
Before we can start, we need the following:
- PowerAutomate - Access to “AI Builder” actions in Power Automate(O365 will give you a 30days trial to try it out).
- A service account which has access to an O365 Shared Mailbox.
###Ok Lets build our Library first
First, start creating a Document Library(Name: ReceiptLibrary) in our target site, add a single line column, and name it “ControlIDColumn.”

###Building our AI Model
Let move to the Power Automate site, and let’s build our AI Model.
Under the AI Builder category, let’s select “Build” then select “Form Processing.”

- Give a name to our AI; I name it “ReceiptModel,” so I know I will use it for our receipts. Hit Create

- Enter in the “Field Name” for the information we wanted to extract. For our example, we will capture the Custom ID]

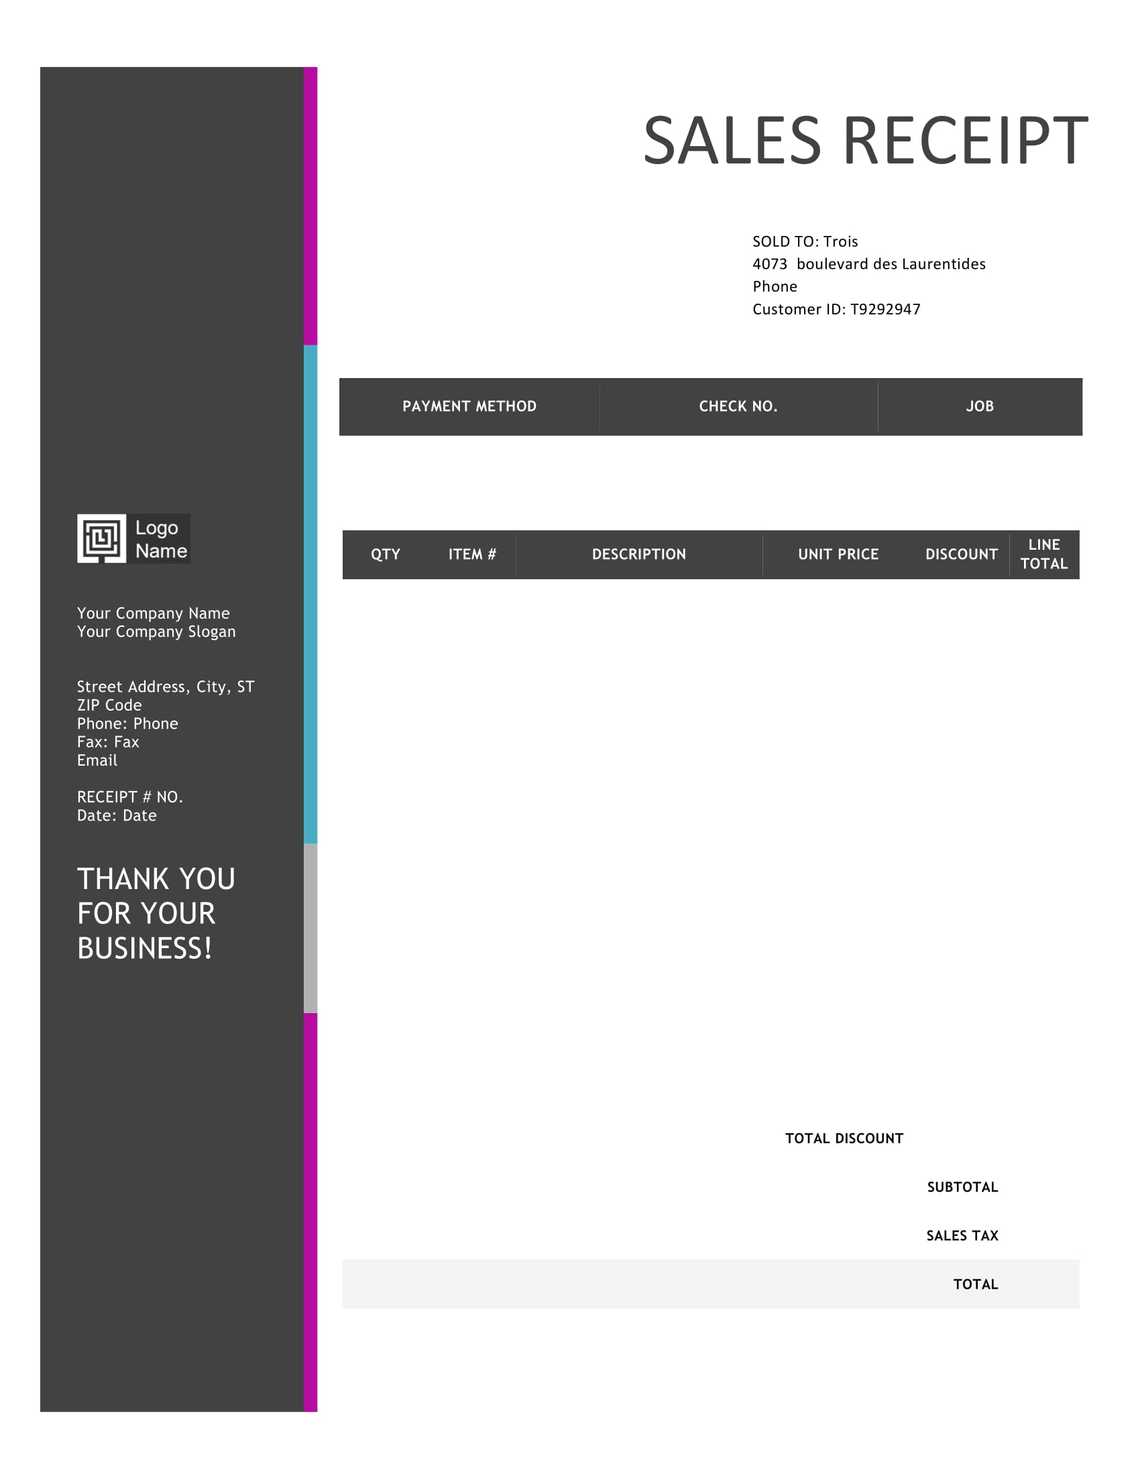
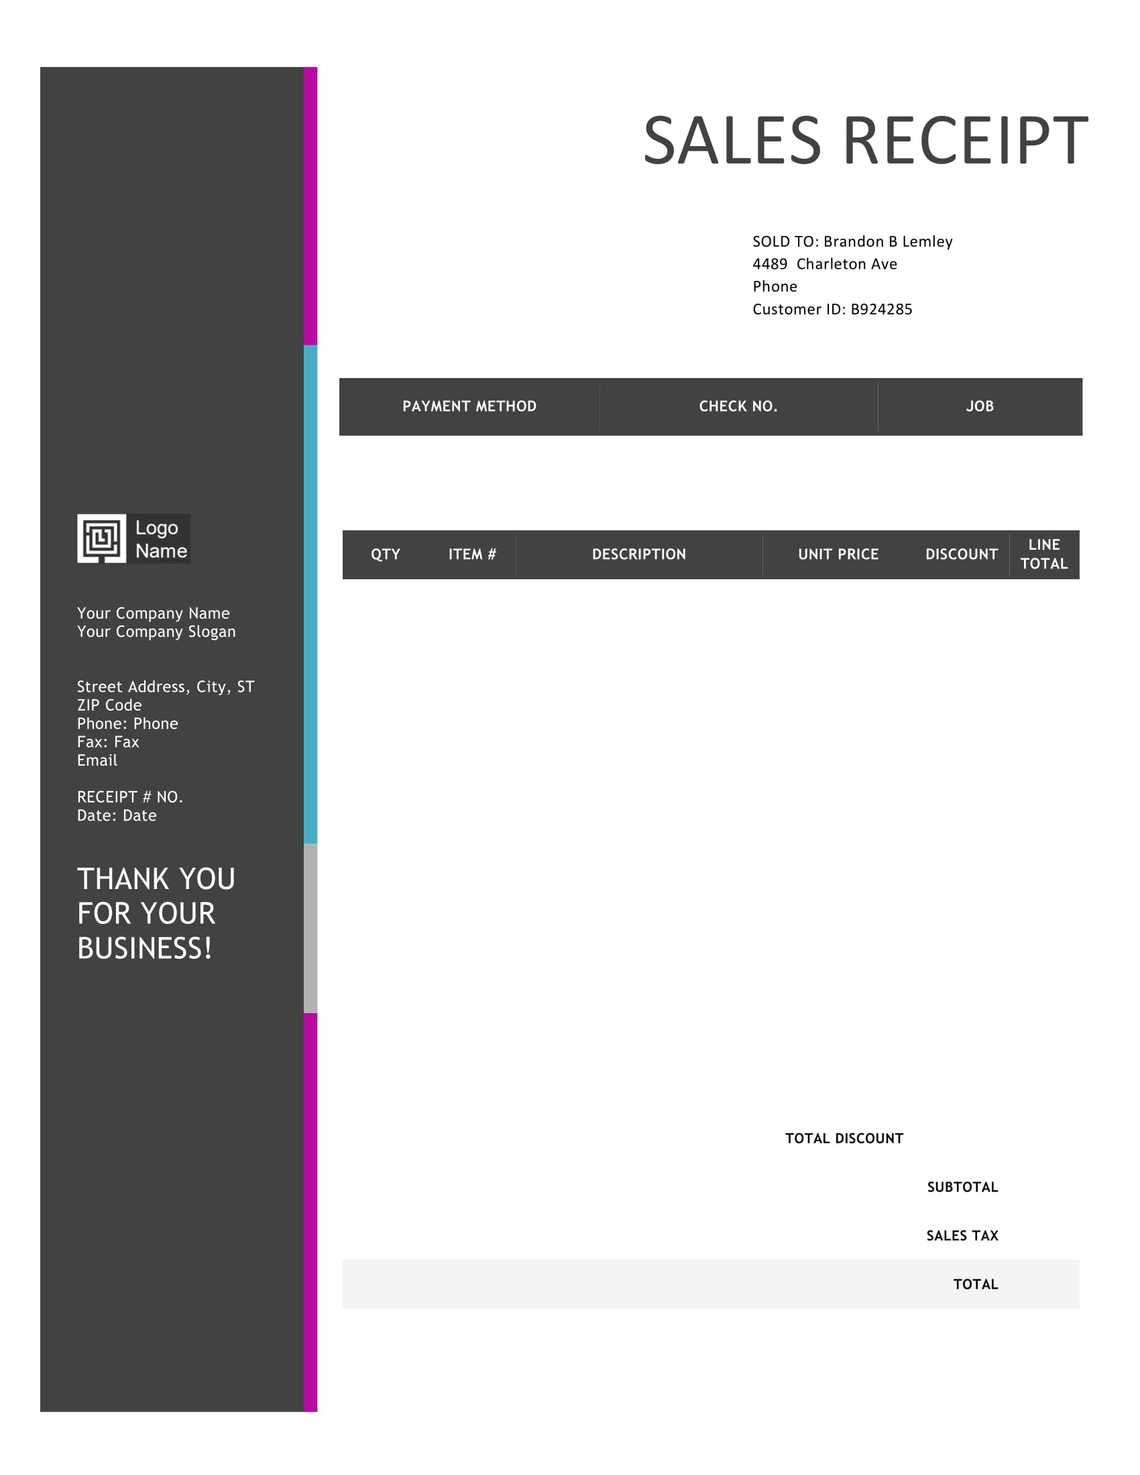
- Now, once we hit next, it will ask us to create a Collection then upload (at least) 5 samples of documents we want to get the data. Note that the sample document I have uploaded is a JPG image.

- Next step is we need to teach the AI wherefrom the document we will extract the “Customer ID” from the five documents we have uploaded

- Hit Next, then “Train.”

###Build our Power Automate
- Let’s move to the Power Automate site and create an “Automated Cloud Flow.”

- For its trigger, we will use the “When a new email arrives in a shared mailbox(V2)” trigger, then hit create

Note: You need to make sure that “Only with Attachments” and “Include Attachments” is set to Yes

If you didn’t set it to yes, you would encounter the error below.
{"operationStatus":"Error","error":{"type":"Error","code":"InvalidPredictionInput","message":"The base 64 binary content is missing for input single","properties":{"BackendErrorCode":"InvalidInferenceInput","DependencyHttpStatusCode":"400"},"innerErrors":[{"scope":"Record","target":"single","code":"InvalidRecord","type":"Error","properties":{"MlIssueCode":"InvalidRecord","MlIssueTarget":"single"}}]}}
- Enter in the email address of the shared mailbox you want to use

- Once the trigger is added, we will add an action called “Process and save information from forms” to get the content we need from the attached files of the email we received.

- Once we extract we will need to upload it to SharePoint and the Control ID from the attached file. First, let’s add an action that will upload the attached file to SharePoint; we can do that by adding the “Create file” action

- After uploading, we will fill up the “CustomerIDColumn” of the file we upload using the value we extract from our image. We will add the “Update file properties” and the “Custom ID value” property to fill up our target column

Id: @{outputs('Create_file')?['body/ItemId']}CustomerIDColumn: @{outputs('Process_and_save_information_from_forms')?['body/responsev2/predictionOutput/labels/Custom_07396f100afdf55ca21cf1fff1e0ed2ac/value']}
- Save our changes and time for testing

- In my email, I attached the image file below

- After a few seconds, the file that I attached is now uploaded to our Document Library with the CustomIDColumn filled up

###Things we can add to improve this process
- We can extract all the information we need so that there is no longer a need to manually input data to SharePoint
- Once an email is a process, we can move it out from the “Inbox” and to a “Processed” folder so we won’t clog down the Inbox folder, and if there is an error as well, we can move the email to an “Error” folder inside the Shared Mailbox.
- We can also extract as well the “Custom ID confidence score” from our “Process and save information from forms” action and then save it to the metadata of the file so that we know how accurate the data we got from our Workflow
Related Posts


